
Most riders should refresh their tubeless sealant every 3–6 months — but the honest answer depends on three things: your climate, how often you ride, and what sealant you're running. A rider in southern Spain in July is working with a very different evaporation rate than someone commuting through a wet Scottish winter. Get the interval wrong in either direction and you're either wasting product or rolling on dry latex that won't seal anything. Here's how to read the signs and get the timing right.
How long does tubeless sealant actually last?
Latex-based sealants — whether synthetic or natural — work by staying liquid inside the tyre and flowing to seal punctures on contact with air. The problem is that liquid evaporates. Over time, the ammonia carrier in most formulations off-gasses through the tyre casing, the water content reduces, and what's left shifts from a flowing liquid to a thick paste, then to a dry rubbery film. At that point it won't seal a fresh puncture.
In temperate conditions — the kind you get in the UK or central Europe — most latex sealants start to lose effective coverage somewhere between 2 and 6 months. Heat and low humidity accelerate that timeline significantly. A tyre that's been sitting in a warm garage or ridden through a hot dry summer can go from fresh to ineffective in 6–8 weeks.
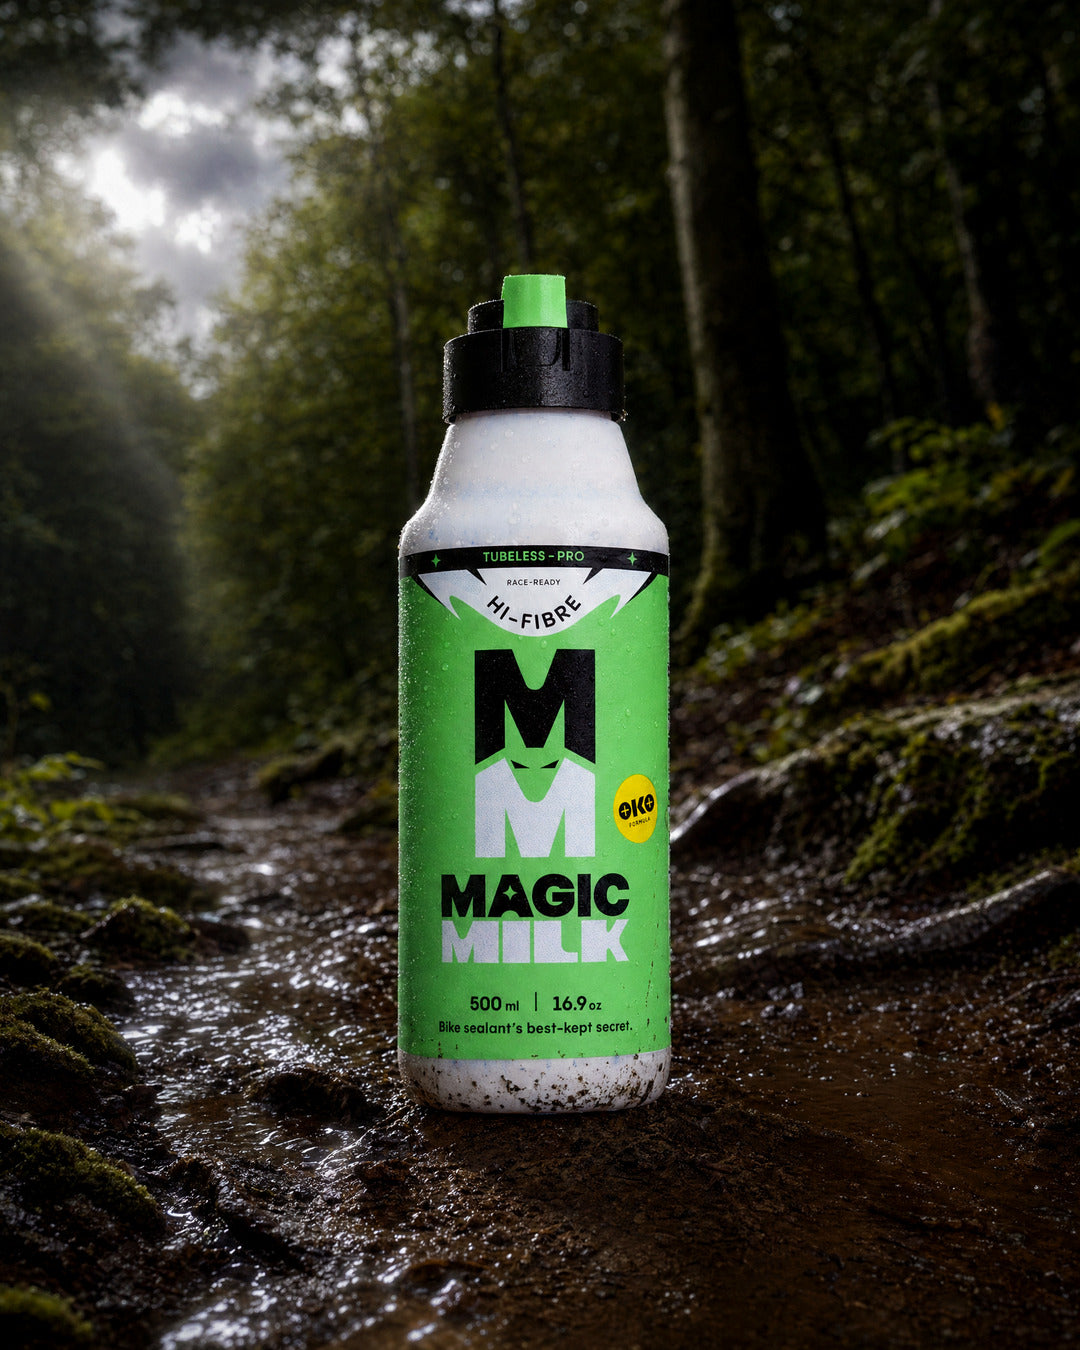
Magic Milk Tubeless-Pro Hi-Fibre uses a synthetic latex formula that stays liquid for 6+ months in temperate conditions, and around 3+ months in hot climates before needing a top-up. That's the stated shelf life in-tyre — not just in the bottle. But even the best sealant eventually needs refreshing. The clock starts the moment it goes in.
Signs it's time to refresh
You don't always need to wait for the calendar. Your tyres will usually tell you first. Check for these:
- Dried or chunky residue when you remove the valve core. If you pull the core and nothing flows out, or you get thick lumps, the sealant has gone past useful.
- A tyre that won't re-seat after going flat. Sealant that's dried can't flow to the puncture site. If a flat doesn't self-seal within a rotation or two, low or dead sealant is usually the first suspect.
- Rattling or sloshing inside the tyre. Dried sealant can break into loose pieces that move around. If you hear something shifting when you spin the wheel, check what's in there.
- A tyre that's visibly deflating slowly without a known puncture. Porosity loss and micro-permeation are normal — but if you're consistently losing 5–10 PSI overnight, the sealant film on the casing may no longer be doing its job.
- It's been more than 6 months and you live somewhere warm. At that point, check regardless of symptoms. Prevention costs less than a flat mid-ride.
How riding style and climate change the answer
Not every rider is on the same schedule. Here's how to adjust the baseline 3–6 month rule:
Hot and dry climates
High temperatures and low humidity are the fastest way to kill sealant. If you ride in summer heat — southern Europe, North Africa, anywhere regularly above 30°C — assume a shorter refresh cycle. Check at 6–8 weeks in peak summer. Parking the bike in a hot garage compounds this further.
Cold and wet climates
Cold slows evaporation, which works in your favour. Riders in the UK or northern Europe during winter can often push closer to the 6-month mark. That said, riding through mud and wet conditions means more minor puncture events — and sealant that's working hard to seal small debris entry points depletes faster than a tyre that rarely gets tested.
High-frequency riders
If you're riding five or more times a week, your tyres are flexing constantly. That mechanical movement accelerates how quickly sealant thins and distributes. Check the volume more often — monthly is not excessive if you ride hard and regularly.
Casual or occasional riders
Ironically, bikes that sit unused for weeks at a time can fare worse than those ridden regularly. Sealant pools at the bottom of the tyre when stationary, and that pooling concentrates the drying process. If your bike sits for more than a few weeks, spin the wheels before you ride and check the sealant level.
Tyre volume
A high-volume tyre — 2.4-inch plus enduro rubber — holds more sealant by absolute volume, which means the ratio of sealant to internal tyre surface area is more forgiving. A narrow gravel or road tyre on the same interval may be running proportionally lower. Scale your fill level to the tyre volume, not just the type.
Top up vs. full refresh — which to do
These are not the same thing, and getting the distinction right saves time and avoids a mess.
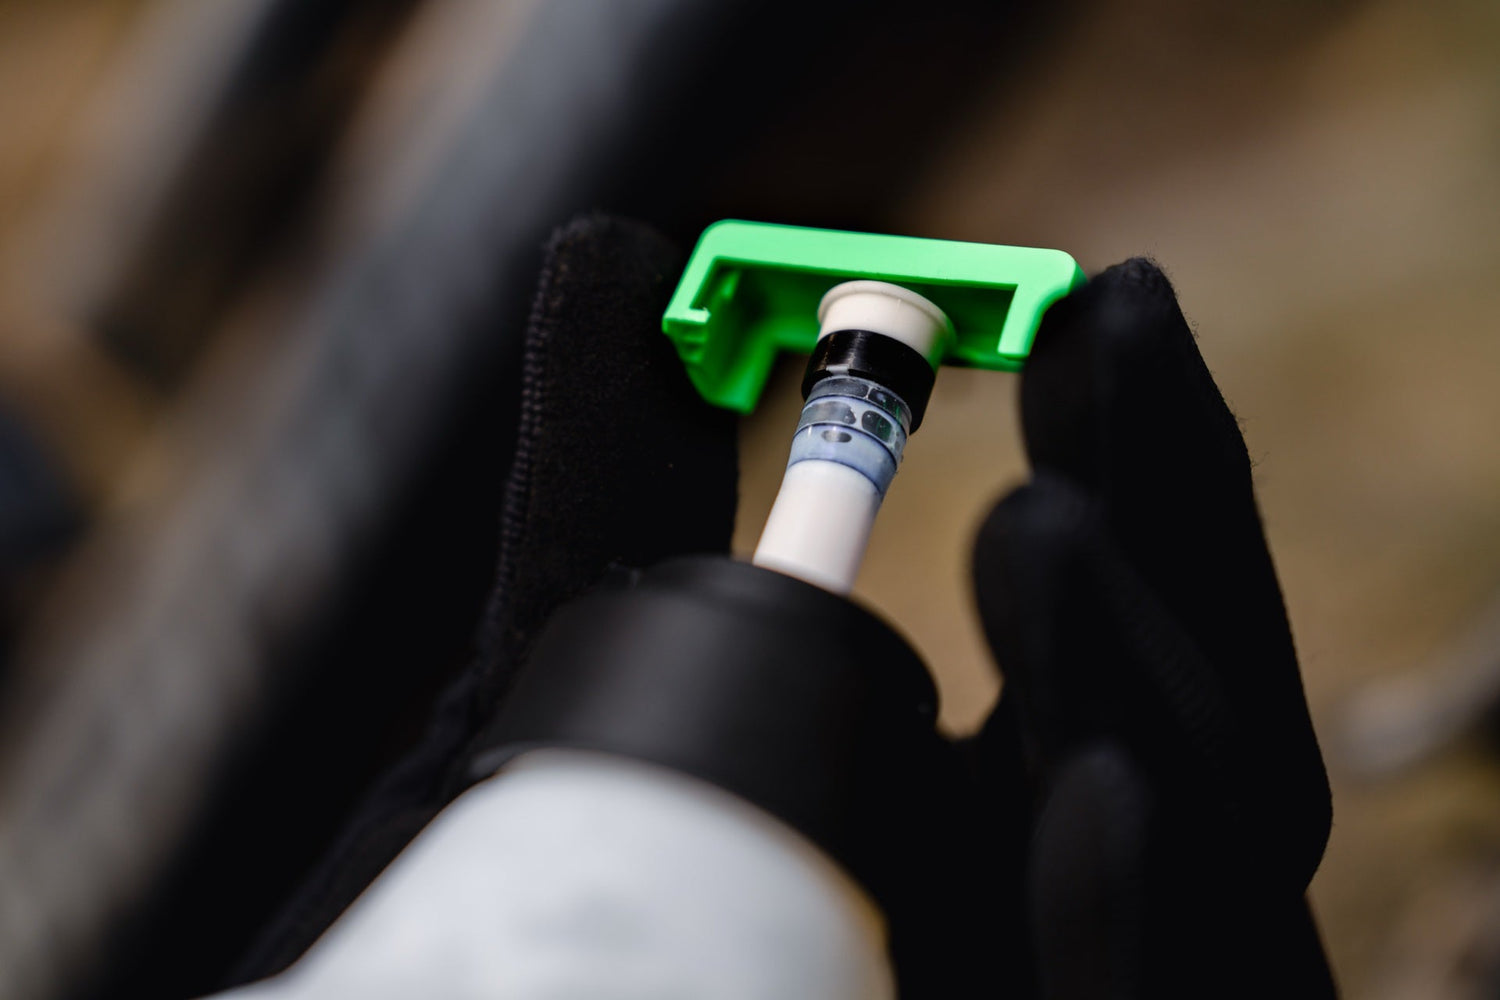
A top-up adds fresh sealant without removing what's already there. It's the right call when: the existing sealant is still liquid (it flows freely from the valve), the tyre is holding pressure well, and you're within the first half of the expected service life. Top-ups are fast — remove the valve core, inject fresh sealant through a sealant injector, replace the core, inflate.
A full refresh means removing the tyre, cleaning out dried residue, and starting with a fresh charge of sealant. Do this when: there's visible dried or chunky residue inside the tyre, the tyre has had a significant puncture that the sealant plugged (which concentrates and depletes the formula at the seal site), or you're switching sealant products and don't want to mix formulations.
Skipping a full refresh when one is needed is a common mistake. Old dried latex doesn't dissolve into fresh sealant — it just creates lumps. A few minutes with a damp cloth on the inside of the tyre casing is worth it.
How to refresh tubeless sealant in 5 steps
- Deflate the tyre fully. Let all the air out before you start. Breaking the bead on an inflated tyre is avoidable trouble.
- Remove one bead and inspect the inside. If the sealant is still clearly liquid and there's no dried residue, you may only need a top-up. If you see chunky or dried material, wipe the inside of the tyre casing clean with a damp cloth and let it dry before refilling.
- Reseat the bead and add fresh sealant via the valve. For a top-up or a clean tyre, remove the valve core with a valve core tool and use a sealant injector to add the correct volume for your tyre size. General guidance: 30–60ml for a road or gravel tyre, 60–120ml for a trail or enduro tyre. Check your tyre manufacturer's recommendation if in doubt.
- Replace the valve core, inflate, and distribute. Inflate to your riding pressure. Rotate the wheel and work the tyre around to distribute the sealant across the full internal surface. Give it a couple of minutes.
- Check for seating and pressure retention. Leave the wheel horizontal for a few minutes, then recheck pressure. A small initial pressure drop as the sealant coats the bead is normal. More than that, and you may have a bead seating issue or a slow leak worth investigating.
Get the right sealant for the job
How often you refresh matters — but what you're refreshing with matters just as much. Magic Milk Tubeless-Pro Hi-Fibre is the flagship formula: synthetic latex with quick-seal mixed fibres, seals punctures up to 8mm, stays liquid for 6+ months in temperate conditions, and won't ball up or leave residue clumps inside your tyre. For riders who want reliable everyday performance without the race-grade formula, Tubeless Original seals up to 6mm and works the same way. Both are UK-manufactured and available across the full tubeless sealant range — 65ml trail carry up to 5 litre workshop drums.
Leave a comment
This site is protected by hCaptcha and the hCaptcha Privacy Policy and Terms of Service apply.